Why Every Home Needs an Emergency Repair Kit
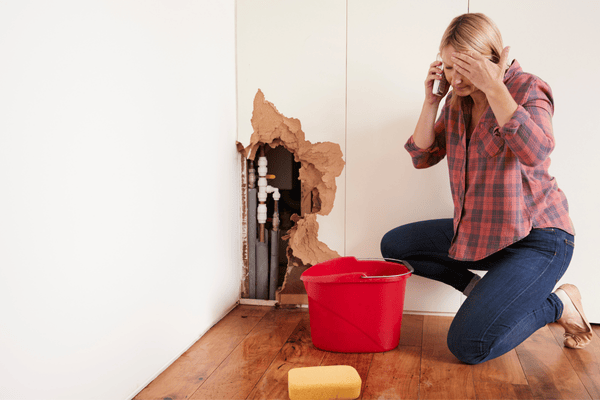
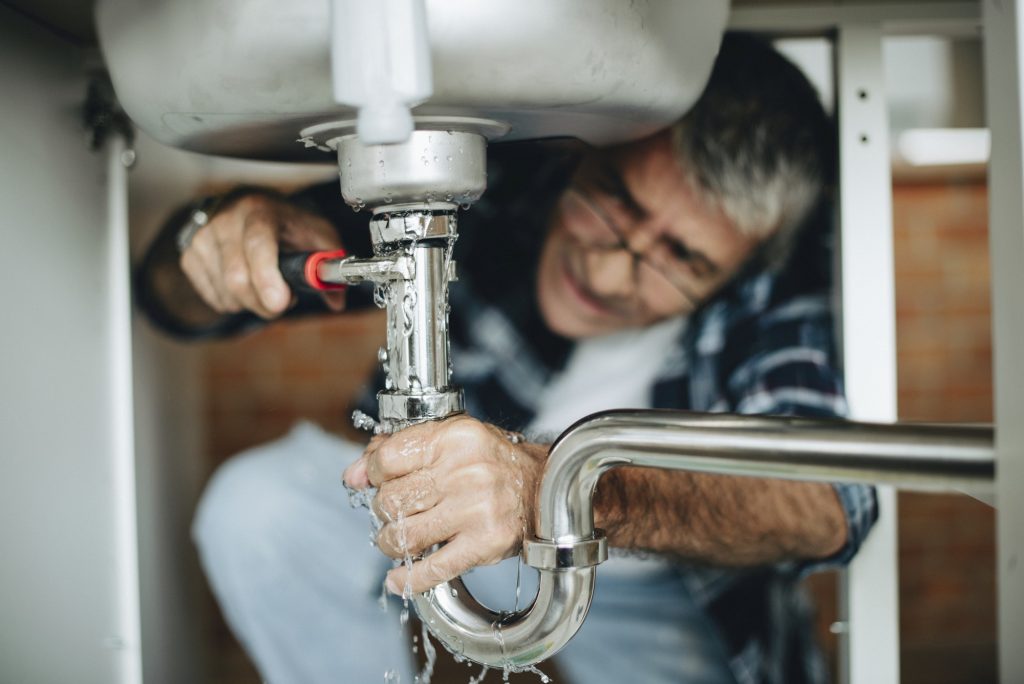
Imagine this: It’s 9 PM, you’re getting ready to relax after a long day, and suddenly… drip, drip, drip. You discover a leak under the kitchen sink. Or maybe it’s an unexpected power outage that leaves you fumbling around in the dark. Sound familiar? These little emergencies are exactly why every home needs an emergency repair kit.
A well-stocked kit can save you from unnecessary stress and costly damage. It’s not about turning you into a DIY expert overnight—it’s about having the right tools and supplies at your fingertips when disaster strikes. Let’s dive into how to create a kit that you’ll thank yourself for having.
When Your Emergency Repair Kit Saves the Day

These are the situations where quick action is critical, and your emergency repair kit can save you from escalating damage or costly repairs:
- Burst Pipe or Major Leak:
Water spraying everywhere? Use pipe clamps or waterproof adhesive to stop or reduce the flow while you wait for a plumber. Towels or buckets can help contain the water and prevent further damage.
- Roof Leak During a Storm:
Sudden rainstorm causing water to drip through the ceiling? Plastic sheeting, duct tape, and a bucket can temporarily seal the leak and protect your home until the storm passes and repairs can be made.
- Power Outage:
The lights go out unexpectedly, and you need to navigate safely or check the breaker box. A flashlight with spare batteries is a must, and zip ties can help secure loose cables in the dark.
- Broken Window from Storm Damage:
A tree branch or debris crashes into your window, leaving your home exposed to the elements. Use plastic sheeting, duct tape, and gloves to safely cover the broken glass and secure the opening.

- Overflowing Sink or Toilet:
Water is spilling onto your floors, threatening serious damage. Shut off the water supply and use your pliers or wrench to tighten connections or remove clogs if possible.
- Gas Leak Suspected (Temporary Mitigation):
If you smell gas and suspect a small leak near a visible connection, your wrench can shut off the gas valve immediately while you call in professionals. (Never attempt to repair a gas line yourself.)
- Damaged Door Lock or Jammed Mechanism:
Can’t secure your home because the lock is broken or stuck? Your screwdriver and pliers can help disassemble and temporarily fix it, keeping your home safe until it’s properly repaired.
10 Tools No Emergency Repair Kit Should Be Without
What goes into an emergency repair kit? Let’s start with the essentials:
- Hammer: For everything from hanging pictures to removing nails, this is a must-have.
- Screwdrivers: A set with both flathead and Phillips heads will cover most of your needs.
- Pliers: Perfect for gripping, bending, or cutting wires.
- Utility Knife: Great for opening boxes, trimming materials, or cutting tape.
- Duct Tape: The MVP of quick fixes. It’s versatile and reliable.
- Adjustable Wrench: Ideal for tackling plumbing issues like tightening leaky fittings.
- Tape Measure: Whether it’s measuring for a patch or checking dimensions, this tool is essential.
- Flashlight and Spare Batteries: Power outages happen. Don’t get stuck in the dark.
- Level: Handy for hanging shelves or pictures correctly.
- Gloves: Protect your hands while you work.
These tools are your repair kit’s backbone, but let’s not stop there.
Bonus Items You’ll Wish You Included
Sometimes, the smallest items can make the biggest difference. Consider adding:
- Zip Ties: Great for quick fixes, bundling wires, or holding things in place.
- Waterproof Adhesive: Perfect for sealing small leaks temporarily.
- Pipe Clamps: A lifesaver for burst pipes while you wait for professional help (like us!).
- Sandpaper: Useful for smoothing rough surfaces before repairs.
- Super Glue: For bonding broken items back together in a pinch.
Trust us, when you’re mid-emergency, you’ll be glad these little helpers are in your kit.
The Hidden Heroes of Emergency Repair Kits
Beyond tools, don’t overlook supplies that can turn minor catastrophes into manageable tasks. Here are a few unsung heroes:
- Sealant or Caulk: For filling cracks or gaps around windows, doors, or plumbing fixtures.
- Spare Screws and Nails: You never know when you’ll need to replace a missing fastener.
- Plastic Sheeting: Ideal for covering furniture or sealing off areas during repairs.
- Buckets or Towels: For containing water during leaks or cleaning up spills.
These items may not seem glamorous, but they’re worth their weight in gold when you need them.
Affordable Options for a Reliable Repair Kit
Building your emergency repair kit doesn’t have to feel overwhelming or expensive. With a little resourcefulness, you can put together a reliable kit without stretching your budget. Here’s how to do it:
1. Start Small and Prioritize the Essentials
You don’t need to buy everything all at once. Start by focusing on the must-have tools like a hammer, screwdrivers, pliers, duct tape, and a flashlight. These basics can handle a wide range of common home repairs. Once you have the essentials, gradually expand your kit by adding bonus items like pipe clamps or sealant as your budget allows.
- Pro Tip: Keep a checklist of items to buy over time and prioritize based on your home’s specific needs. For instance, if you have older plumbing, tools for leaks might move higher up the list.
2. Shop Smart: Stretch Your Dollars Further
There are plenty of ways to get quality tools without overspending.
- Sales and Discounts:
Keep an eye on sales at local hardware stores or big-box retailers. Seasonal sales, like those around holidays or back-to-school time, often have great discounts on tools and supplies. - Thrift Stores and Garage Sales:
You’d be surprised at how many high-quality tools you can find secondhand. Look for gently used hammers, screwdrivers, and wrenches at a fraction of the price. - Online Marketplaces:
Platforms like Facebook Marketplace or Craigslist often have affordable, pre-owned tools available locally. Be sure to inspect them in person to ensure they’re in good condition.
3. Use What You Already Have
You might already own many of the items you need, scattered across your home.
- Declutter and Consolidate:
Check your junk drawer, garage, or storage shed for tools like flashlights, tape measures, or duct tape. Gather them into one spot to see what’s missing. - Repurpose Household Items:
Zip ties, old towels, or even a sturdy backpack for storing your kit might already be lying around, waiting to be put to good use.
4. Build Gradually with Multi-Function Tools
Invest in tools that can serve multiple purposes to save both money and space.
- Examples of Multi-Function Tools:
- Multi-bit Screwdriver: A single handle with interchangeable heads can replace a whole set.
- Adjustable Wrench: Covers multiple bolt sizes, eliminating the need for multiple wrenches.
- Leatherman or Swiss Army Knife: Compact tools with various functions like cutting, gripping, or screwing.
5. DIY Kits and Budget Brands
Some budget-friendly brands offer pre-assembled repair kits at reasonable prices. While they might not last a lifetime, they’re a great starting point for first-time homeowners.
- Budget Kits: Look for starter kits online or in stores that bundle basic tools together, often at a lower cost than buying them separately.
- Coupons and Rewards Programs: Join hardware store loyalty programs or use apps that provide cashback on purchases.
6. Add Low-Cost Supplies Gradually
Once you’ve covered the essentials, focus on inexpensive but valuable additions to your kit:
- Zip ties: Cost just a few dollars but are incredibly versatile.
- Sandpaper: Buy in packs for pennies per sheet.
- Super Glue: Usually under $5 and invaluable for quick fixes.
7. Upcycle and Get Creative
Sometimes, you don’t need to buy new—just think outside the box.
- Old Plastic Containers or Tins: Use these for organizing smaller items like screws, nails, or adhesives.
- DIY Tool Storage: Repurpose an old toolbox, backpack, or even a durable tote bag to store your kit.
8. Plan for Future Upgrades
Once your basic kit is complete, keep a wish list of higher-quality tools you might want to invest in later. For example:
- Upgrading to a high-quality flashlight.
- Investing in a sturdy toolbox with compartments for organization.
9. Make It a Household Effort
If you share your home with family or roommates, consider pooling resources to build the kit together. Splitting the cost of tools and supplies can make it much more affordable for everyone involved.
10. Keep the Focus on Readiness
Remember, the ultimate goal is to have a functional kit when you need it. It doesn’t need to be perfect or complete right away. A hammer that’s a little worn or a flashlight from the dollar store is still better than being caught unprepared.
A Place for Everything: Storing Your Kit the Right Way
The best emergency repair kit is the one you can find when you need it. Keep everything organized and easily accessible. Consider:
- Toolbox or Bin: A sturdy, portable container is ideal for keeping tools together.
- Backpack: If you’re short on space, a backpack works well and is easy to grab in a hurry.
- Labeling: Use labels to identify what’s inside and avoid digging around during an emergency.
Store your kit in a spot everyone in your household knows, like a closet, garage, or utility room.
Outdated or Missing? Keeping Your Kit Ready for Action
Your kit isn’t a one-and-done project. Regularly check it to ensure everything is in working order. Replace batteries, restock supplies, and update tools based on recent repairs or seasonal needs. For example, during Austin’s colder months, add pipe insulation or antifreeze for plumbing emergencies.
Be Prepared, Stay Calm, and Fix It Like a Pro
An emergency repair kit isn’t just a collection of tools—it’s your first defense against home disasters. Taking the time to assemble one now can save you stress, money, and headaches down the road. And remember, if your kit can’t handle the problem, we’re here to help. All Nation Restoration is your local go-to for water damage, burst pipes, and everything in between.
Start building your kit today. Your future self will thank you.


